
How to geotag your photos with a Garmin Training Center recording
First step, synchronize your camera’s time to your Garmin watch. I have Garmin 405 for marathon training and this is an excellent second use for it. I’m sure this would work with any other product that syncs up to Garmin’s Train Center program. Start recording your walk, roam or run for those true blurry cam moments.
Once you get back to your computer and sync up your activity into Garmin’s Training Center, right click on it and Export it. This will save a TCX file on your computer.
The best geotagging program I’ve found is GPicSync and just download and install that. (via @twodimes)
Now you’ll be left with a circle peg/square hole problem, because GPicSync can’t read the TCX file, so you have to convert it with GPS Visualizer. Simply browse for your TCX file, select GPX as your output type and then press the convert button. On the following page you can copy/paste or just right click on the output file to save your GPX file.
Browse your folder full of images, and your GPX file and then put in your UTC offset (without the zeros, so -4 for (-0400 EDT). Click the Synchronize button and then your folder will be navigated, and your GPS data will be added to your images and by default they’ll be backed up incase the whole process cocks up. Then you can view them in Google Earth or you can put them in your map on Flickr. By default Flickr protects the EXIF gps data but if you have photos you’d like to share on the map, click on the show on map button and it will automatically put them on your map where you plotted them.
Today I shot this one right here.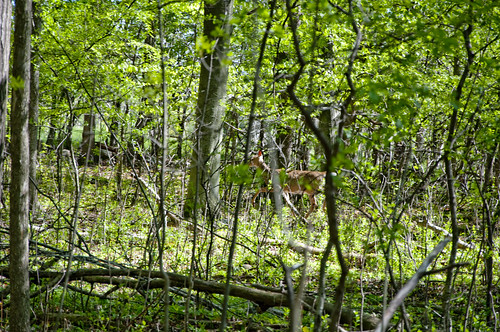
Recent Comments